
Ajanta Cave 6: Life of the Buddha - Defeat of Mara
阿旃陀石窟第6窟佛傳圖之降魔成道
印度馬哈拉施特拉邦奧蘭加巴德
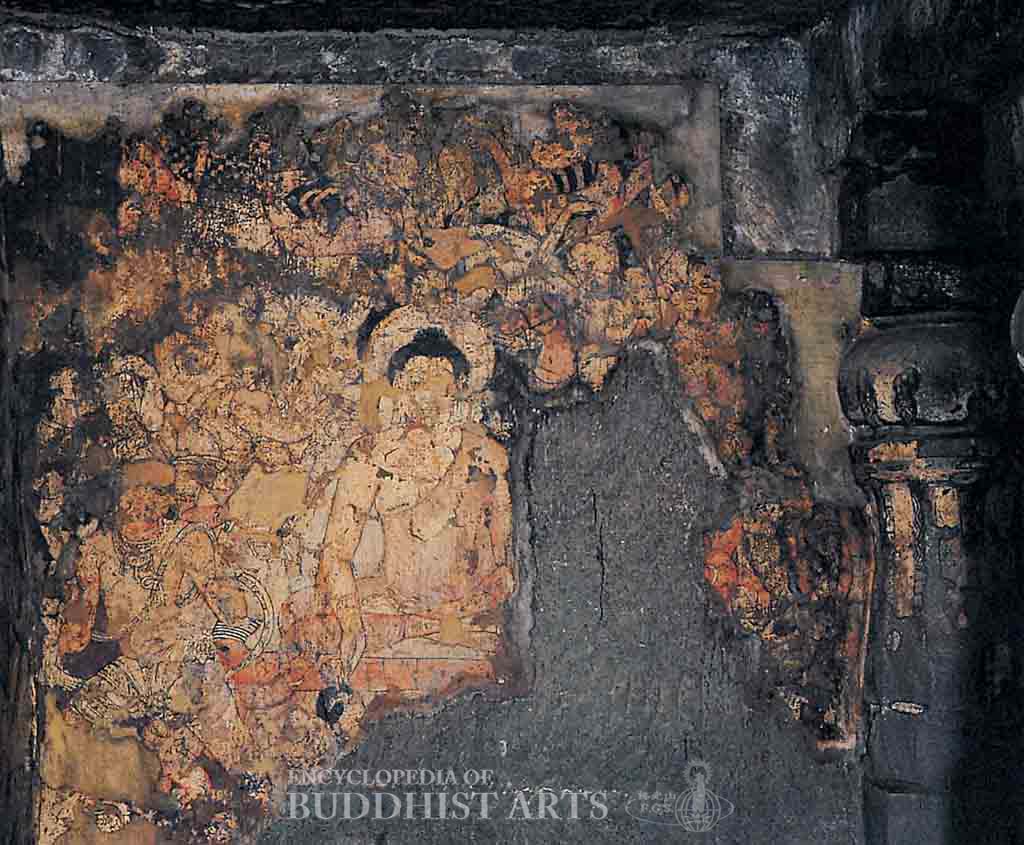
位於阿旃陀石窟(Ajanta Caves)第6窟下層過廳。依據佛傳所載,描繪悉達多太子成道在即,魔王波旬惟恐太子證得菩提,召集魔軍、魔女襲擊、誘惑太子,擬斷其勇猛精進之道心。然太子不驚不怖,身如金山,放大光明,魔王軍眾悉皆退散。
畫面毀損近半,僅殘存佛陀、魔王和部分魔軍。佛居中央位置,螺髮濃密,面相莊嚴。著袒右式袈裟,結跏趺坐,右手下垂施降魔印,左手置於腹前。其右前方之魔王身材魁梧,右腳前屈,左腿後伸,動態十足。四周眾魔軍似作攻擊狀。
此圖雖多處漫漶,但色彩依然明亮,人物描繪寫實自然,筆觸纖細。
For more details, go to the Encyclopedia of Buddhist Arts: Caves A-E, page 32.
Cite this article:
Hsingyun, et al. "Ajanta Cave 6: Life of the Buddha - Defeat of Mara." Encyclopedia of Buddhist Arts: Caves A-E, vol. 5, 2016, pp. 32.
Hsingyun, Youheng, Peter Johnson, Mankuang, Susan Huntington, Gary Edson, and Robert Neather. 2016. "Ajanta Cave 6: Life of the Buddha - Defeat of Mara" In Encyclopedia of Buddhist Arts: Caves A-E, 5:32.
Hsingyun, Youheng, Johnson, P., Mankuang, Huntington, S., Edson, G., & Neather, R.. (2016). Ajanta Cave 6: Life of the Buddha - Defeat of Mara. In Encyclopedia of Buddhist Arts: Caves A-E (Vol. 5, pp. 32).
@misc{Hsingyun2016,
author = Hsingyun and Youheng and Johnson, Peter and Mankuang and Huntington, Susan and Edson, Gary and Neather, Robert,
booktitle = {Encyclopedia of Buddhist Arts: Caves A-E},
pages = 32,
title = {{Ajanta Cave 6: Life of the Buddha - Defeat of Mara}},
volume = 5,
year = {2016}}
author = Hsingyun and Youheng and Johnson, Peter and Mankuang and Huntington, Susan and Edson, Gary and Neather, Robert,
booktitle = {Encyclopedia of Buddhist Arts: Caves A-E},
pages = 32,
title = {{Ajanta Cave 6: Life of the Buddha - Defeat of Mara}},
volume = 5,
year = {2016}}