
Kizil Cave 175: Main Chamber - Back Wall

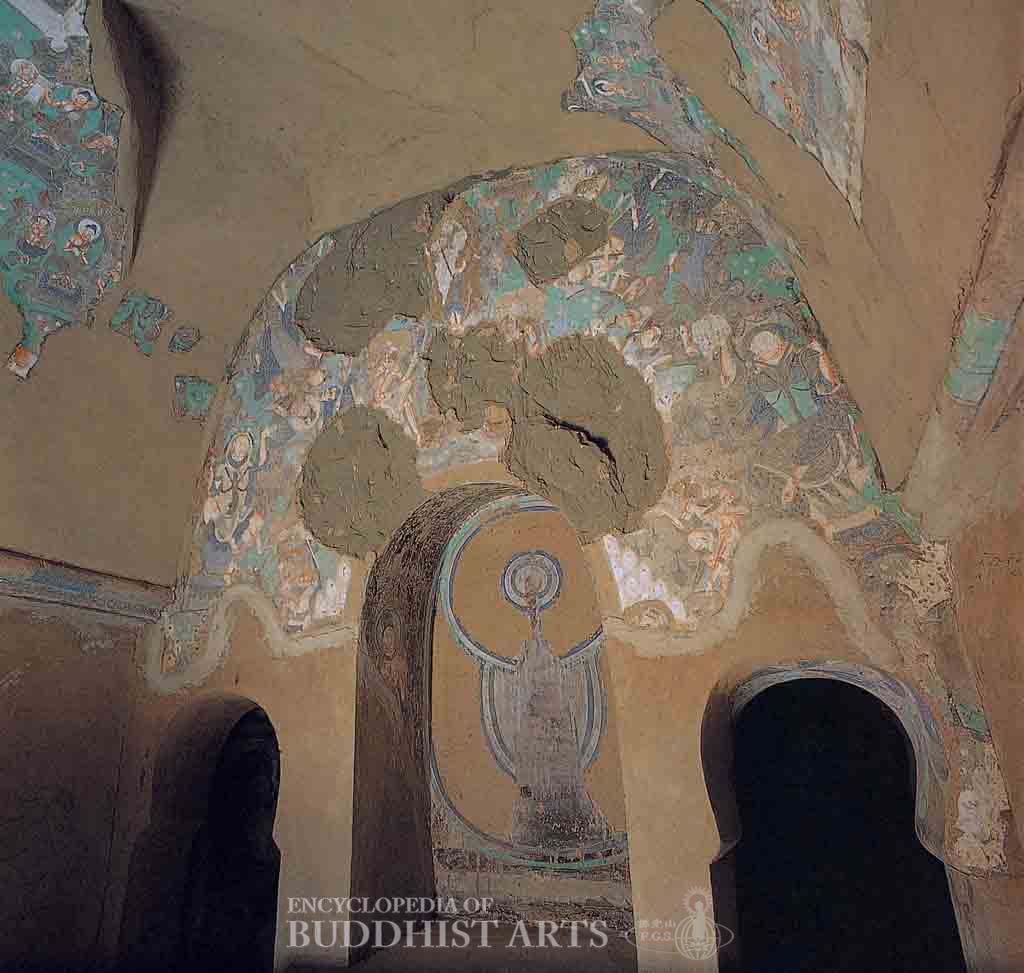
Kizil Cave 175: Main Chamber - Ceiling (right side)
Kizil Cave 175: Rear Corridor - Left Wall
Kizil Cave 175
CHINA, Xinjiang, Aksu
Situated in the east valley, this central pillar cave was constructed during the 6th to 7th century. Only the main chamber and the corridors of this central pillar cave remain today. The main chamber, 3.2 m wide, 3.6 m high, and 2.3 m deep, is rectangular with a barrel-vaulted ceiling. Side corridors on both ends of the back wall connect to the rear corridor which has a barrel-vaulted ceiling, and measures 3.35 m wide, 2.5 m high, and 1.35 m deep. After renovations in a later period, the left wall of the rear corridor connects to Cave 176.
An empty arched niche is located on the back wall of the main chamber; the nimbus and aureole of the statue once housed within it remain on the wall. The left wall of the niche displays a portrait of Sakra, and there is a gandharva with five hair knots on the right wall. Originally, the sculptures in the niche and the murals on each side formed a scene of Sakra teaching the Dharma. Diamond images displaying portraits of apsaras, brahmins, and vajras are depicted outside of the niche. The side walls once displayed two rows of scenes from the karma stories and the Life of the Buddha, however, these have since been removed. The front wall of the main chamber has collapsed; on the semicircular wall above the doorway was a mural of the Defeat of Mara and Enlightenment, which has also been removed. The central ridge of the vaulted ceiling held astrological signs, of which only snakes and geese remain. Rows of diamond-shaped images of the karma stories and Jatakas are found on each side of the vaulted ceiling. Distinguishable stories include Five Hundred Merchants Seeking Treasures at Sea, Angulimalya and His Wrongdoings, Buddha Drawing a Self-Portrait, King’s Messenger Asking the Buddha to Ride a Cart to Ascend to Heaven, and Brave Merchants Fighting a Demon in the Wild. At the bottom on each side was a row of heavenly musicians, which have been removed.
The inner wall of the left corridor displays eight portraits of monks with donors beneath, and the outer wall has two small niches which are bereft of statues. A mural of two monks standing beside a large pond can be seen outside of the niches. The inner wall of the right corridor displays a mural of the Five Realms of Existence, with the Buddha at the center and two heavenly beings making offerings below him. The outer wall has two small niches, both without statues. A picture of Devadatta, located outside of the niches, depicts the figure holding a rock over the head of the Buddha statue originally placed inside. The ceiling of the corridor is decorated with diamond-shaped images.
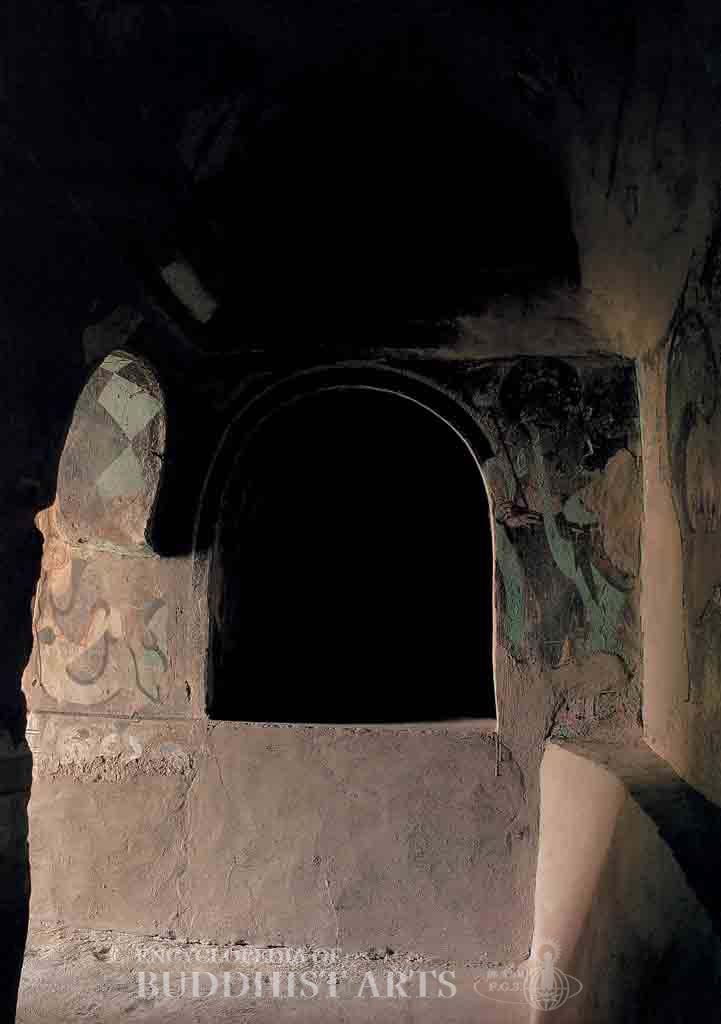
A parinirvana platform, partially in ruins, can be found at the bottom of the back wall in the rear corridor. Of the mural depicting the Buddha’s Parinirvana above the platform, only one monk remains. He stands in front of the Buddha’s head. Four heavenly warriors are found behind the Buddha. Parts of the mural have fallen away while others have been removed. There are niches on the side walls of the rear corridor. In the left niche is a painted image of Guhyapadavajra, and above it are murals of the Birth of Prince Siddhartha, Seven Steps at Birth, and Asita’s Prophecy. The top section of the front wall displays a mural of the Buddha’s Cremation, and below it is the Distribution of Relics Among the Eight Kings. Murals on the central ridge of the vaulted ceiling are damaged. The surfaces on the two sides display diamond-shaped images of mountains, lakes, and trees.
For more details, go to the Encyclopedia of Buddhist Arts: Caves R-L, page 568.
Cite this article:
author = Hsingyun and Youheng and Johnson, Peter and Mankuang and Huntington, Susan and Edson, Gary and Neather, Robert,
booktitle = {Encyclopedia of Buddhist Arts: Caves R-L},
pages = 568,
title = {{Kizil Cave 175}},
volume = 6,
year = {2016}}